


Winter . . . it may drum up different connotations for different people. But when the temperature drops and the slog of the season is upon us, some days it may take a concerted effort to pull through. Add a little extra self-care into your daily mix, and hopefully, the short days and long nights will be a bit more palatable. Here are three budget-friendly at-home spa ideas to help see you through winter’s end.
3 DIY Winter Home Spa Ideas
1. Vanilla Cinnamon Sugar Scrub
The winter weather we have in the Lowcountry seems to wreak havoc on my skin with its ups and downs. That said, I wanted to do something that would nourish and replenish my skin’s moisture level.
As I’ve mentioned in a previous DIY home spa article, I am a big fan of coconut oil, from putting it in my coffee to using it as a hair mask to (I’ll admit) having a scoop right out of the jar. I’m that obsessed. So I thought I’d look to see what kind of wintery scrubs I could find that would incorporate this truly magical ingredient.
I found a few recipes online for sugar scrubs that called for the use of white sugar but when I went to my pantry to assemble my mise en place, I realized I didn’t have any (gasp!). Too excited to be thwarted, I pulled out my bag of brown sugar to use instead, which is an easy substitution for granulated sugar. I also decided to grate my own cinnamon sticks as opposed to using the store-bought kind. For fun, I added a splash of pure vanilla bean extract. The good stuff (and expensive), I’ll admit, but OMG, was it worth it! Not only was this scrub fabulous to use on dehydrated skin, but I discovered that it also tastes great too!
**NOTE: You should always do a small test on your skin first before applying a whole batch of your homemade skin care solution to your body.
Recipe:
(This was my recipe but it’s basically a 2:1 ratio of sugar to coconut oil.)
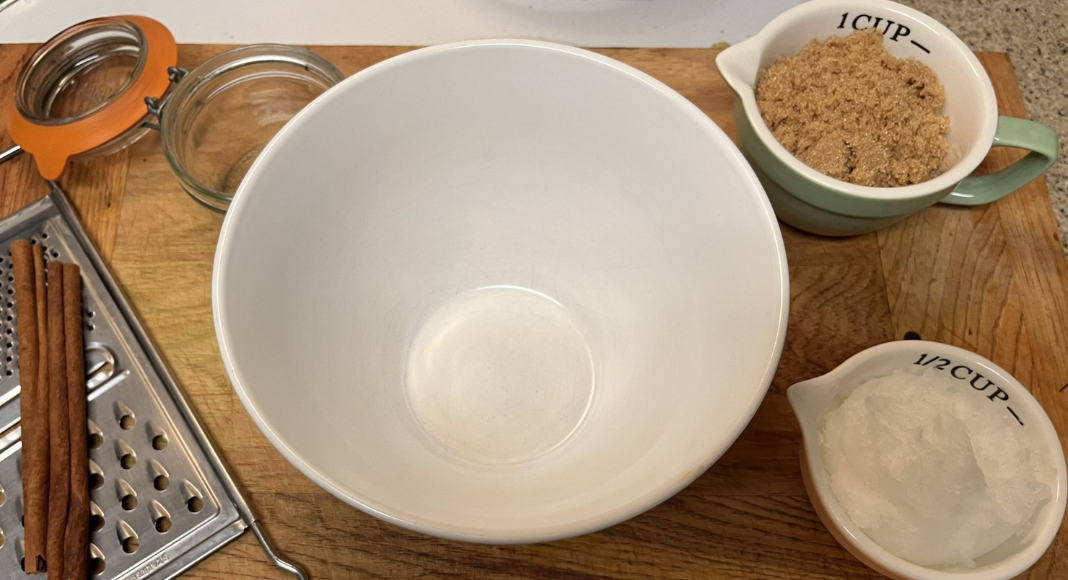
- 1 cup sugar (I used brown sugar, pictured here, but granulated will also do and will add a slightly coarser texture)
- ½ cup coconut oil (use organic, unrefined virgin coconut oil whenever possible)
- grated cinnamon (grate your own with a fine grater for more texture).
Play around with the portions that suit you. If you want a coarser scrub, add more sugar.
Directions:
- Add the coconut oil to a deep mixing bowl, then the sugar.
- Hand mix with a spatula to incorporate. Some recipes call for using a food processor, which will work as well, but I prefer the old-fashioned way.
- Grate the cinnamon (or sprinkle, if you’re using it out of a jar) and mix it with the other ingredients.
- Optional: Add a splash (like ¼ teaspoon or less) of vanilla extract. **NOTE: The Internet has mixed feelings about using vanilla extract on the skin. If you do plan to use it, be sure to only use pure vanilla extract and not the imitation kind, and always do a test swatch first.
The Verdict: So easy to make and delicious (it’s completely edible, wink) — the end result is a luxuriously creamy and beautifully smelling scrub. I used it to massage my feet, heels, ankles, and elbows while in the shower. It left them feeling nourished and smooth all over. You can also use the scrub to massage your legs, arms, hands, and face.
I tried the scrub on my face, avoiding the eye area, and it worked well. It was a little weird because it smelled so good that I wanted to eat it, but it did leave my face refreshed and radiant.
The coconut oil leaves behind a thin layer as it is comprised of fatty acids and definitely does its job of locking moisture in. I would leave out the vanilla extract if using it on my face again, or just use it on my extremities instead.
2. Olive Oil Massage
Who doesn’t love a massage? But when you are a time-pressed, tired, and worn-out mama, you might not have the ability (or the patience) to get to the spa. So why not give yourself a massage?
I first learned about Abhyanga, the ancient Ayurvedic practice of self-massage with warm oil, while enrolled in a yoga teacher training course several years ago. I didn’t realize it at the time, but I practice Abhyanga daily after my showering routine. Recently, I was reminded of this Ayurveda practice and wanted to do more research into its benefits. Turns out, there is a lot the ancient yogis knew about health and wellness, and Abhyanga for self-care and stress release were just two benefits of several.
Before you launch into the practice, consider taking a Dosha quiz to find out your body’s unique makeup, or constitution. Then you can select the best oil to use for your Dosha. There are several free online Dosha quizzes, but here is a simple one from Yoga Journal that doesn’t require an email subscription.
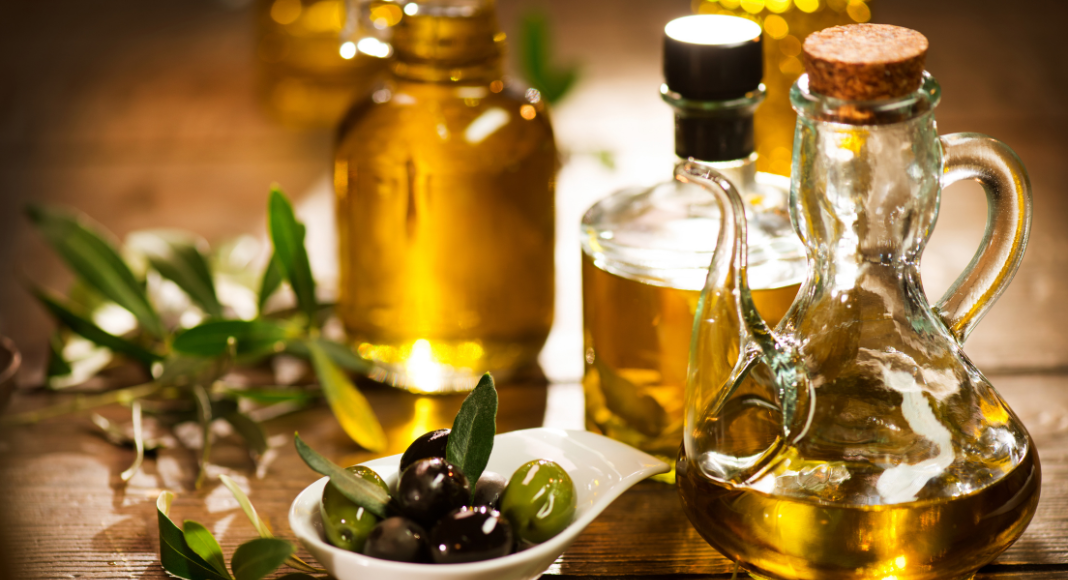
My constitution leans more towards Vata, so sesame oil is recommended, which also happens to be the most popular option on the internet for Abhyanga massage. Since I didn’t have that on hand, I went with olive oil instead, which is also a brilliant option.
Olive oil is known for its moisturizing, antioxidant, and anti-inflammatory properties. The use of olive oil for massage is nothing new and has been practiced for centuries since the ancient Greeks, according to this scholarly article published in the Archives of Medical Science.
 Recipe:
Select a good extra-virgin olive oil for best results. Same as you would for cooking, look for a translucent or opaque bottle as that would indicate a higher quality oil than the more transparent ones, in theory. (Check out Food & Wine’s pro tips on selecting a good olive oil.)
In any event, don’t be shocked by the price point. Quality extra-virgin olive oil comes with a higher price tag, but all you need is a dollop for your massage. Plus, you can cook with the rest.
Directions:
- Rub the olive oil in the palm of your hand to warm and then massage in circular motions into your skin.
- Allow it to air dry before dressing. It might be best to wear looser-fitting clothing after a massage. **NOTE: Never apply olive oil to your skin before going into the sun. It’s best to do an olive oil massage at night after showering, as this Real Simple article suggests.
- For tips on how to do traditional Abhyanga massage, Chopra offers easy-to-follow instructions.
The Verdict: I have heard stories from my mother that my older relatives would swear by olive oil massage in their daily beauty routines, but I wasn’t convinced until I tried it. I absolutely loved the nuttiness of the olive oil and the way it left my skin feeling smooth but not sticky at all.
Unlike lotion, the olive oil sat on my skin but then dissipated. It wasn’t as greasy as I expected and there was not any lingering residue. It just sat there and then slowly dissolved, leaving my skin (hands, arms, and legs) feeling silky smooth.
I would 1000% recommend olive oil for massage, especially for those who often have cracked and scaly skin in the winter like me. **NOTE: Olive oil is not recommended for those who have more oily skin or who are prone to acne.
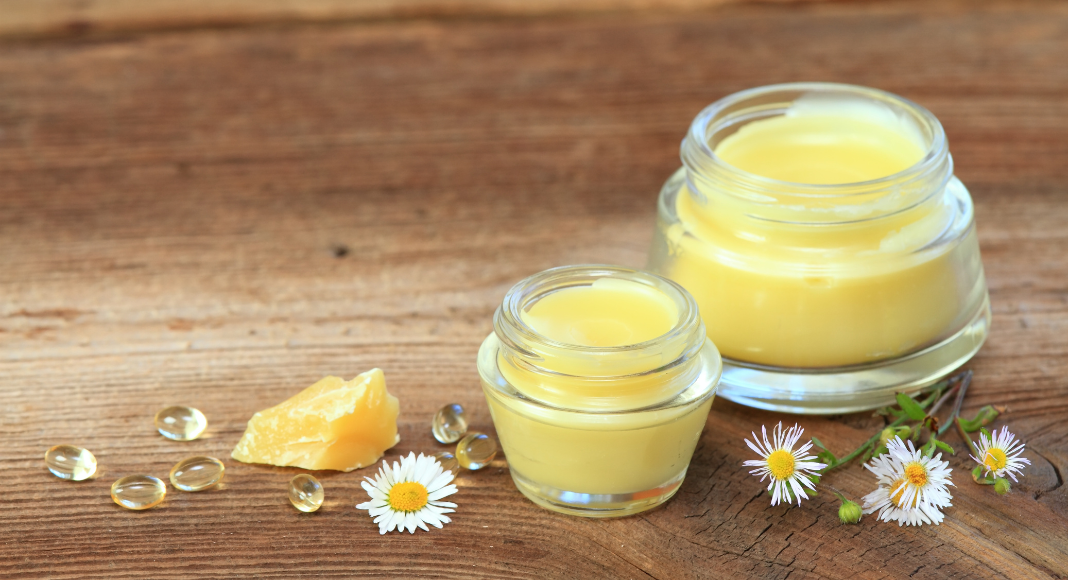
3. Beeswax Lip Balm
A colleague of mine gifted me a Kikkerland Beeswax Lip Balm Kit a few years back and I decided to give it a try last winter. It was phenomenally easy to do in the comforts of my home and took minimal time (an added bonus!). The kit includes everything needed to prepare the lip balm, minus a small pot and/or jar for liquifying and mixing the ingredients. Included are packets of 100% pure beeswax, hydrogenated coconut oil, and cold-pressed shea butter; a stir stick; two lip balm tubes with labels, and a mini funnel. Kohl’s sells it online, as well as several other retailers. But I’ll also explain how to make it from scratch below.
 Recipe:
If you are using the kit or a similar one, refer to the package instructions. For those who are venturing out into total DIY territory, watching a few YouTube videos beforehand will help explain the process with visuals. Note that beeswax melts around 175° Fahrenheit and starts to discolor around 185°. In extreme circumstances of high temperatures (400° Fahrenheit or greater), beeswax is flammable, so be sure to stay with your project from start to finish.
Most beeswax lip balm recipes will call for the following:
- empty lip balm tubes
- pure beeswax
- a carrier oil
- essential oil (if using)
- a small whisk or stir stick
- a pipette or funnel to transfer the melted wax to the tubes
- labels, if you wish
Directions:
See the package instructions if using a kit. Or, if you’re choosing to DIY:
- Melt the solid beeswax into a liquid state over a double boiler or in a heat-proof jar submersed in a bain-marie.
- If you plan to use an essential oil, first whisk in a carrier oil, like coconut oil, almond oil, or jojoba oil. Note that carrier oils are used to dilute essential oils to render the product safe to apply on skin. If not, essential oils on their own can cause burning and other skin irritations due to their potency. For exact dilution amounts, use this Healthline article as a guide.
- Remove from the heat source and allow to cool slightly before adding a few drops of your essential oil. Be careful not to add too much as it could irritate your skin!
- Optional: Add a few drops of vitamin E oil, which has moisturizing and antioxidative properties.
- Once fully mixed, transfer the melted beeswax into the lip balm tubes using the funnel or pipette.
The Verdict: The lip balm kit was so easy to use and the lip balm was overall very fun to make! I made the two tubes in a flash and used them over last winter. The pure beeswax lip balm gave Burt’s Bees a run for its money. (In fact, I may have liked it better, but don’t tell anybody!)
I will say that the kit balm didn’t have the tingle of peppermint that I crave from Burt’s Bees, so the next time I make this, I will add a few drops of peppermint essential oil after diluting it with a carrier oil.
Making your own from scratch is easy enough so long as you assemble all of your ingredients and supplies needed to do the job. It’s important to note that everything used should absolutely be food-grade quality and organic whenever possible.
Looking for some local bee and honey inspiration? Check out The Charleston Bee Company in Moncks Corner, or Edisto Gold Honey which sells beautifully pressed pure beeswax bars for $5 each.


")
