


I have always considered myself a hippie or a free spirit. Maybe it started with the big bell bottom trend in my tween years . . . or my overall love for nature and spending time outdoors away from groups of people.
But no matter how it started, here I am, in my mid-30s identifying as a “scrunchy mom.” (I am not a full-on “crunchy mom” — nor am I a “silky mom”.)
I would describe myself as a scrunchy mom because I birth at home, bed-share, babywear, exclusively breastfeed, use baby-led weaning, read all the labels, question everything that “everyone else” is doing, and don’t buy into the beauty industry (at all). No store-bought lotions, sunscreens, or hair products over here. No make-up unless I have a family photo shoot. No putting anything on my body that I wouldn’t eat because guess what?! It all goes into your body and bloodstream.
I cannot control everything I am exposed to on a daily basis, but I can choose what to put in or on my body and make educated choices on the risks and benefits of it all.
The Transition to Homemade Beauty Products
When I made the decision to remove almost all commercially manufactured products I put on my skin, I quickly realized that like any chemical or substance, my body was going to need a detox. You would be surprised at how our body adapts to these products in such a way that we almost feel like we cannot live without them.
For example, when I tried to move to a natural deodorant — I STUNK! Like bad. My body was so used to me killing all of its good bacteria and oils with a deodorant that it began overproducing as soon as it had the chance. After a couple weeks of stinking things up, I found an underarm detoxification that worked wonders after about 10 days of use.
Underarm Detoxification
- 1 tablespoon bentonite clay
- 1 teaspoon apple cider vinegar
- 1-2 teaspoons water
- Mix all ingredients in a glass or ceramic bowl and stir with a wooden or plastic spoon. Do NOT use a metal bowl or spoon.
- Apply in an even layer to underarms and allow to sit for 5-20 minutes. (Start with five minutes and work your way up to longer time periods.)
- Redness of skin is normal during and after application.
- If any pain or irritation remove it immediately.
3. Wipe off with a warm washcloth or take a shower to rinse.
4. Repeat as needed until the underarm odor is gone.
Deodorant Recipe
After my detoxication period ended, I started using this homemade deodorant recipe. It is easy and cheap to make, and last for six months. This was a win-win: less chemical exposure for me and I was saving money compared to buying commercial products.
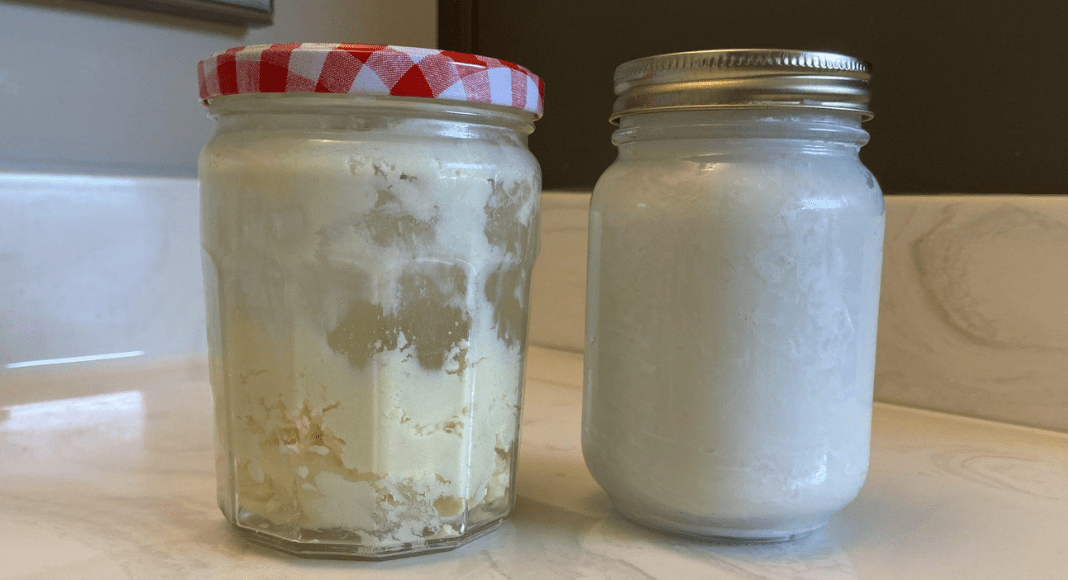
- 1/3 – 1/2 cup baking soda
- 1/2 cup arrowroot powder
- 5-8 tablespoons coconut oil
- 15-20 drops of lemongrass, eucalyptus, peppermint, or grapefruit essential oils
- Mix baking soda and arrowroot powder together.
- Add 5 Tbsp softened coconut oil and 15 drops of essential oils and mix.
- If the mixture remains crumbly add coconut oil 1 Tbsp at a time until desired consistency is achieved.
- Add an additional 5 drops of essential oil if you want a more potent formula.
- Store in an airtight jar for up to six months.
- Use a popsicle stick or your fingers to apply a dime-sized amount to each underarm.
Furthering My Repertoire of Homemade Beauty Products
My underarms were the first place I started as I began educating myself on the dangers of frequent exposure to certain chemicals; it was pretty easy and didn’t take much of a time commitment (especially after I got past the detox phase). With the deodorant win under my belt, I felt confident about making even more of my own products. The next product I used most frequently was my daily face moisturizer with SPF.
My skin has always been pretty average: not too dry, not too oily, occasional acne, and normal aging. The below recipe for a daily moisturizer has been amazing for my skin. It has been so effective that I do not even need to use it every day, but rather every 2-3 days in the non-winter months. Every skin type will be different and if you wash your face frequently with soap you may need to use this moisturizer more often.
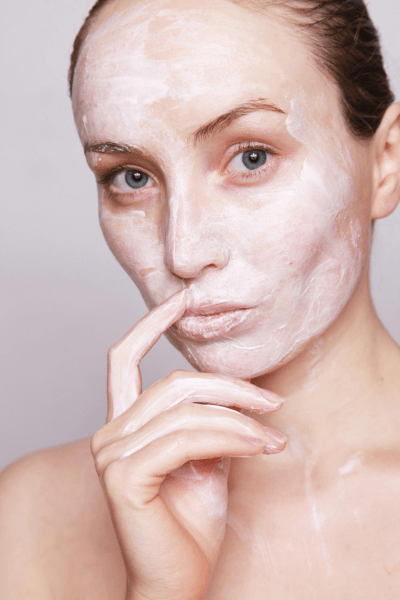 Daily Face Moisturizer
- 1/2 cup coconut oil
- 1/2 cup shea butter or cocoa butter
- 1 teaspoon Vitamin E or Almond oil
- 15-20 drops of clary sage, lavender, ylang-ylang, rose, or frankincense essential oil (Anti-wrinkle)
- 10-15 drops of geranium, tea tree, rosemary, or lemon essential oil (Skin tightening)
- Optional: 1 tablespoon Zinc Oxide powder for SPF coverage
- Use a double boiler to melt coconut oil and butter together.
- Remove from heat and allow to cool until able to handle.
- Add in Vitamin E oil and essential oils and mix well.
- Optional: add in Zinc Oxide powder and mix well.
- Allow mixture to partially solidify and then whip with a hand mixer to desired consistency.
- Store in a sealed glass jar for up to 12 months.
These are just a few of my favorite recipes!
Although it does take a little longer to make these products than just buying a bottle at the store, I feel motivated to keep making them because they are better for my skin and body, better for the environment, and better for my wallet.


")
